
The better the curb appeal, the easier it is to sell your home, and the higher the value placed on it. A porch railing installation can add to the looks, safety, or privacy of your outside space, making it more enjoyable for you and appealing to others.
In fact, millennials list a deck or porch as an important feature they’re looking for when buying a home, and they make up 37 percent of homebuyers on the market today. The charm of a wrap-around porch is improved greatly with a porch railing that works with the style of the house.
Let’s take a look at what’s involved in how to install railing and the factors you need to consider if you plan to add it to your home.
Know the Building Code
Most locations in the U.S., including Boise, follow the International Residential Code for railings, which places safety ahead of design. The code is there to protect people from injury caused by falling off porches or structural failure.
The code requires guardrails to be at least 36” above the porch floor. While you can place them higher, keep the proportions of your house in mind when deciding how tall to make your railing.
Your porch doesn’t require railings if the floor is no more than 30” off the ground, but a railing can finish off the look, especially for traditional styles like Victorian or Georgian.
The requirements for building permits can vary by municipality. For example, Boise only requires a permit if the overall project includes more structural work like replacing floor joists.
Choosing Your Railing Type
When you choose your railing, you should be taking three things into consideration – the style of your home, your budget, and the purpose of the railing. A purely decorative railing can be made safe and secure, but you might place the posts farther apart than you would if safety were your primary concern.
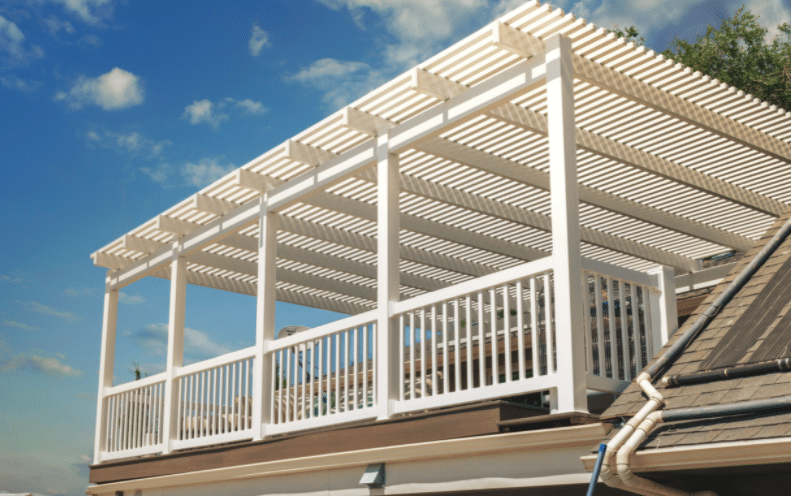
You have several options for railing types that go far beyond the style. When you’re choosing, you can mix and match to have one material for the posts and another for the guardrails to get the look you want.
Wood is a classic choice that fits a wide range of home styles and can be painted to blend into the house colors. You should consider building it of cedar as it doesn’t warp, which improves long-term stability. One downside is wood can rot, especially if you don’t maintain it properly.
Metal resists that decay and can come in detailed patterns that make it easy to fit the style of your house. Stainless steel is commonly chosen for modern and sleek looks, while painted aluminum is inexpensive, but short-lasting. Wrought iron provides an upscale look, is stronger, and can last for years as long as you keep it painted to prevent rust.
Synthetic options combine wood particles with resin and vinyl and can be colored and textured to mimic wood. It’s more expensive up front, but it doesn’t fade, splinter, or crack and needs no sealing. There are limited styles and colors available, though.
Prepping the Job
Before installation starts, it’s important to ensure your porch is ready for railing. It makes no sense to put a new railing into a porch that has other issues or into a setting where things won’t match.
Start with inspecting the condition of the porch. You’re looking for anything that might need to be replaced or repaired that you can take care of at the same time as the install. This might include fixing broken floorboards, replacing rotting siding, or changing out structural pillars.
You should also add any other tasks to your list that will be necessary to get your railing to match your home. This might involve scheduling to paint your entire home after the installation or just getting enough paint currently on your porch to cover the railing.
Porch Railing Installation Steps
Let’s turn to the steps for how to install porch railing. Depending on the size of your porch, a professional crew should be able to get everything installed in a day. If you’re trying to do it yourself, your skill level and how many family members you’re able to rope into helping will have a lot to do with how long the job takes.
The process starts by installing the posts – also called balusters – which provide vertical support. These are secured to the supporting structure below the porch floorboards, not the porch floor itself. This means they can be installed directly into a concrete foundation if you have one.
It’s important for these to be properly aligned and secured to ensure your installation is stable. Wobbly balusters mean a wobbly railing. The distance between them needs to be precise to ensure the horizontal rail fits perfectly.
Next, the balustrades or guardrails go on. These are screwed or nailed in place depending on the type of material you chose.
The last step is to tackle any finishing touches. This involves caulking joints as needed, covering screw heads, and applying a final coat of paint.
Need Installation Help?
Whether you want to add to your home’s curb appeal or improve safety on your porch, railings can handle both in one project. While a porch railing installation can be a straightforward job, it isn’t always ideal as a DIY project. The experience and skill of a professional installation ensure the railing is properly secure and stable for years to come.
If you’re ready to invest in a railing, contact us to talk about your project and the cost to install porch railing. We’ve been installing railings, decks, and fences in the area since 1994, adding features to turn houses into homes.