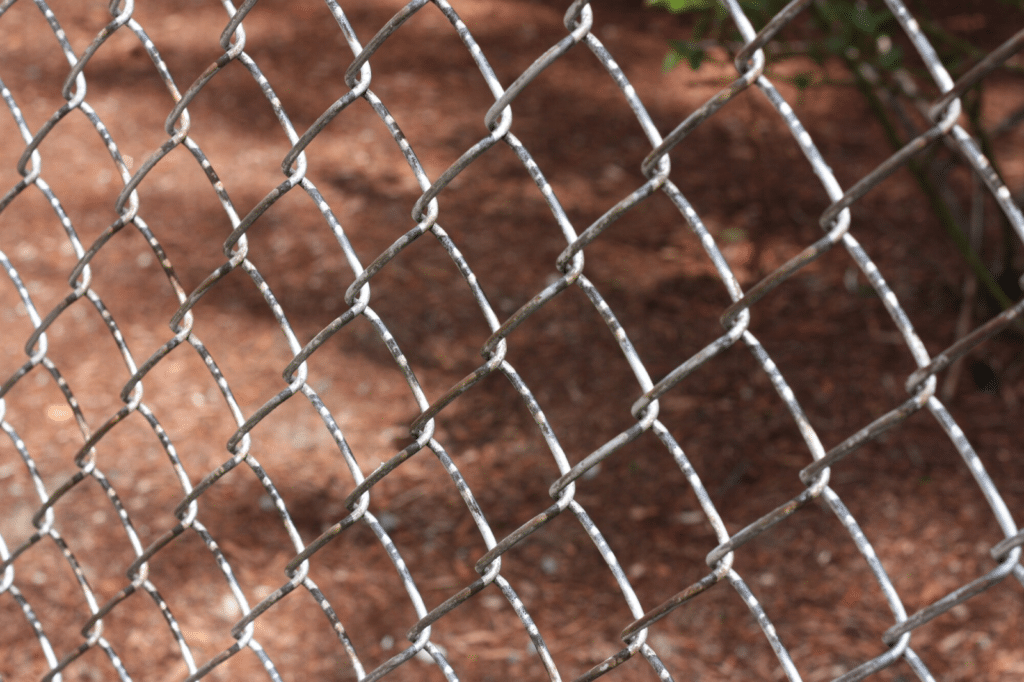
Chain link fences are a great way to protect your property and keep unwanted critters or visitors at bay. They provide an affordable yet effective method for protecting your property.
However, a chain-link fence is only as good as its installation, which means knowing how to set it up correctly is critical to its success.
If you’ve got chain link fence rolls on hand or are planning to purchase them, we’ve put together a handy how-to guide to help you.
Follow along and let’s help you get your fence up correctly.
Purchase Your Chain Link Fence Rolls and Prepare Your Property
Before you get started setting up your chain link fence, you’ll want to make sure that there are no restrictions on the height, location, or other aspects of your new fence.
Typically, checking in with your local building department can help you ensure you’re adhering to local guidelines.
Once you know about any potential restrictions it’s time for you to determine where you want your fence positioned. You’ll want to figure out where you want your fence positioned along your property line.
From there you can determine how high you’d like your fence to be. You’ll usually be able to purchase chain-link fence rolls between four and six feet high.
Whichever height you select, make sure to purchase enough chain-link material to cover the entire perimeter of the property. You can measure the perimeter with string before getting started to make sure you have the measurements right.
Prepare and Set up Your Posts
After you’ve prepped your property, it’s time to get to work setting up the posts for your chain link fence.
You’ll start by digging your post holes. The holes should be three times larger than the diameter of the post.
It’s also important to note that you’ll want to make sure to dig the holes a little differently depending on which type of post will be positioned in the hole.
Line posts holes should be between six and eight inches while end and corner posts should be between 10 and 12 inches.
The holes will need to be one-third as deep as the length of the pole. You’ll also want to add an additional four inches of depth to account for a gravel filling to hold the post in place.
After the holes have been dug, you will fill the holes with concrete one hole at a time. You will want to take the time to make sure they are level from side to side. It is best to start with your ends and corner posts, as these are typically areas of the fence line that can have transitions in elevation or gates.
You’ll want to make sure to fully pack the concrete into the holes to ensure that it keeps the fence from wavering.
Once the holes are filled, shape the concrete at the top of the post into a slight mound. This helps water drain away from the posts and helps improve the life of the fence.
It will take roughly two or three days for the concrete to set. Don’t begin working on the line posts until the concrete on the end and corner posts have fully set.
Install Tension Bands, Caps, and Rails
Now you’re ready to get started installing the rest of the necessary fence hardware.
You’ll want to start by installing tension bands, which keep the fence rigid. The number of tension bands you need will depend on how tall your fence is.
After you’ve installed your tension bands, it’s time for you to install the post caps and attach the rails. At this point, you’ll also be able to fill in the holes around the line posts and pack them so that they are firm.
Once the line posts are in place and secure, the fence hardware is complete and you’re ready to install the chain link fabric and framework.
Weave the tension bar through the ends of the mesh. This bar will help you attach the material to the fence posts and keep the mesh material rigid.
After the tension bar has been woven through the mesh, lift the mesh up so that it’s standing. Attach the tension bar to the tension bands using a bolt to lock it in place.
A socket wrench can help you tighten and secure the mesh so that it doesn’t slide around. From there, make sure to align the mesh so that it is two inches from the ground and overlaps the railing by one to two inches.
Tighten and Secure the Fence
Once everything is in place, it’s time to stretch the chain link mesh so that it sits taught. You’ll want to remove any excess mesh that remains after the fence has been pulled tight.
You can do this by opening a loop at both the bottom and the top of the mesh. Pull the loose strand up and out to remove excess material.
Next, tighten the tension bands to help pull the material tighter and avoid sagging.
Finally, you’ll finish up by tying off the fence fabric to the rails every 24 inches. You can also tie off the line posts every 12 to 16 inches to ensure the fence is pulled tight.
Finish Your Chain Link Fence
At this point, your chain link fence is up and ready to go! To finish it off, wire the bottom loops of the chain link mesh using a tension wire. You’ll tie off the wire by wrapping it around itself several times.
If you’re ready to get started setting up a fence and are looking for a team that can supply you with the chain link fence rolls you need, Butte Fence can help! Our professional team has all the materials and supplies you need to get a chain-link fence installed on your property. Give us a call today and get your new chain-link fence set up around your home or business!


